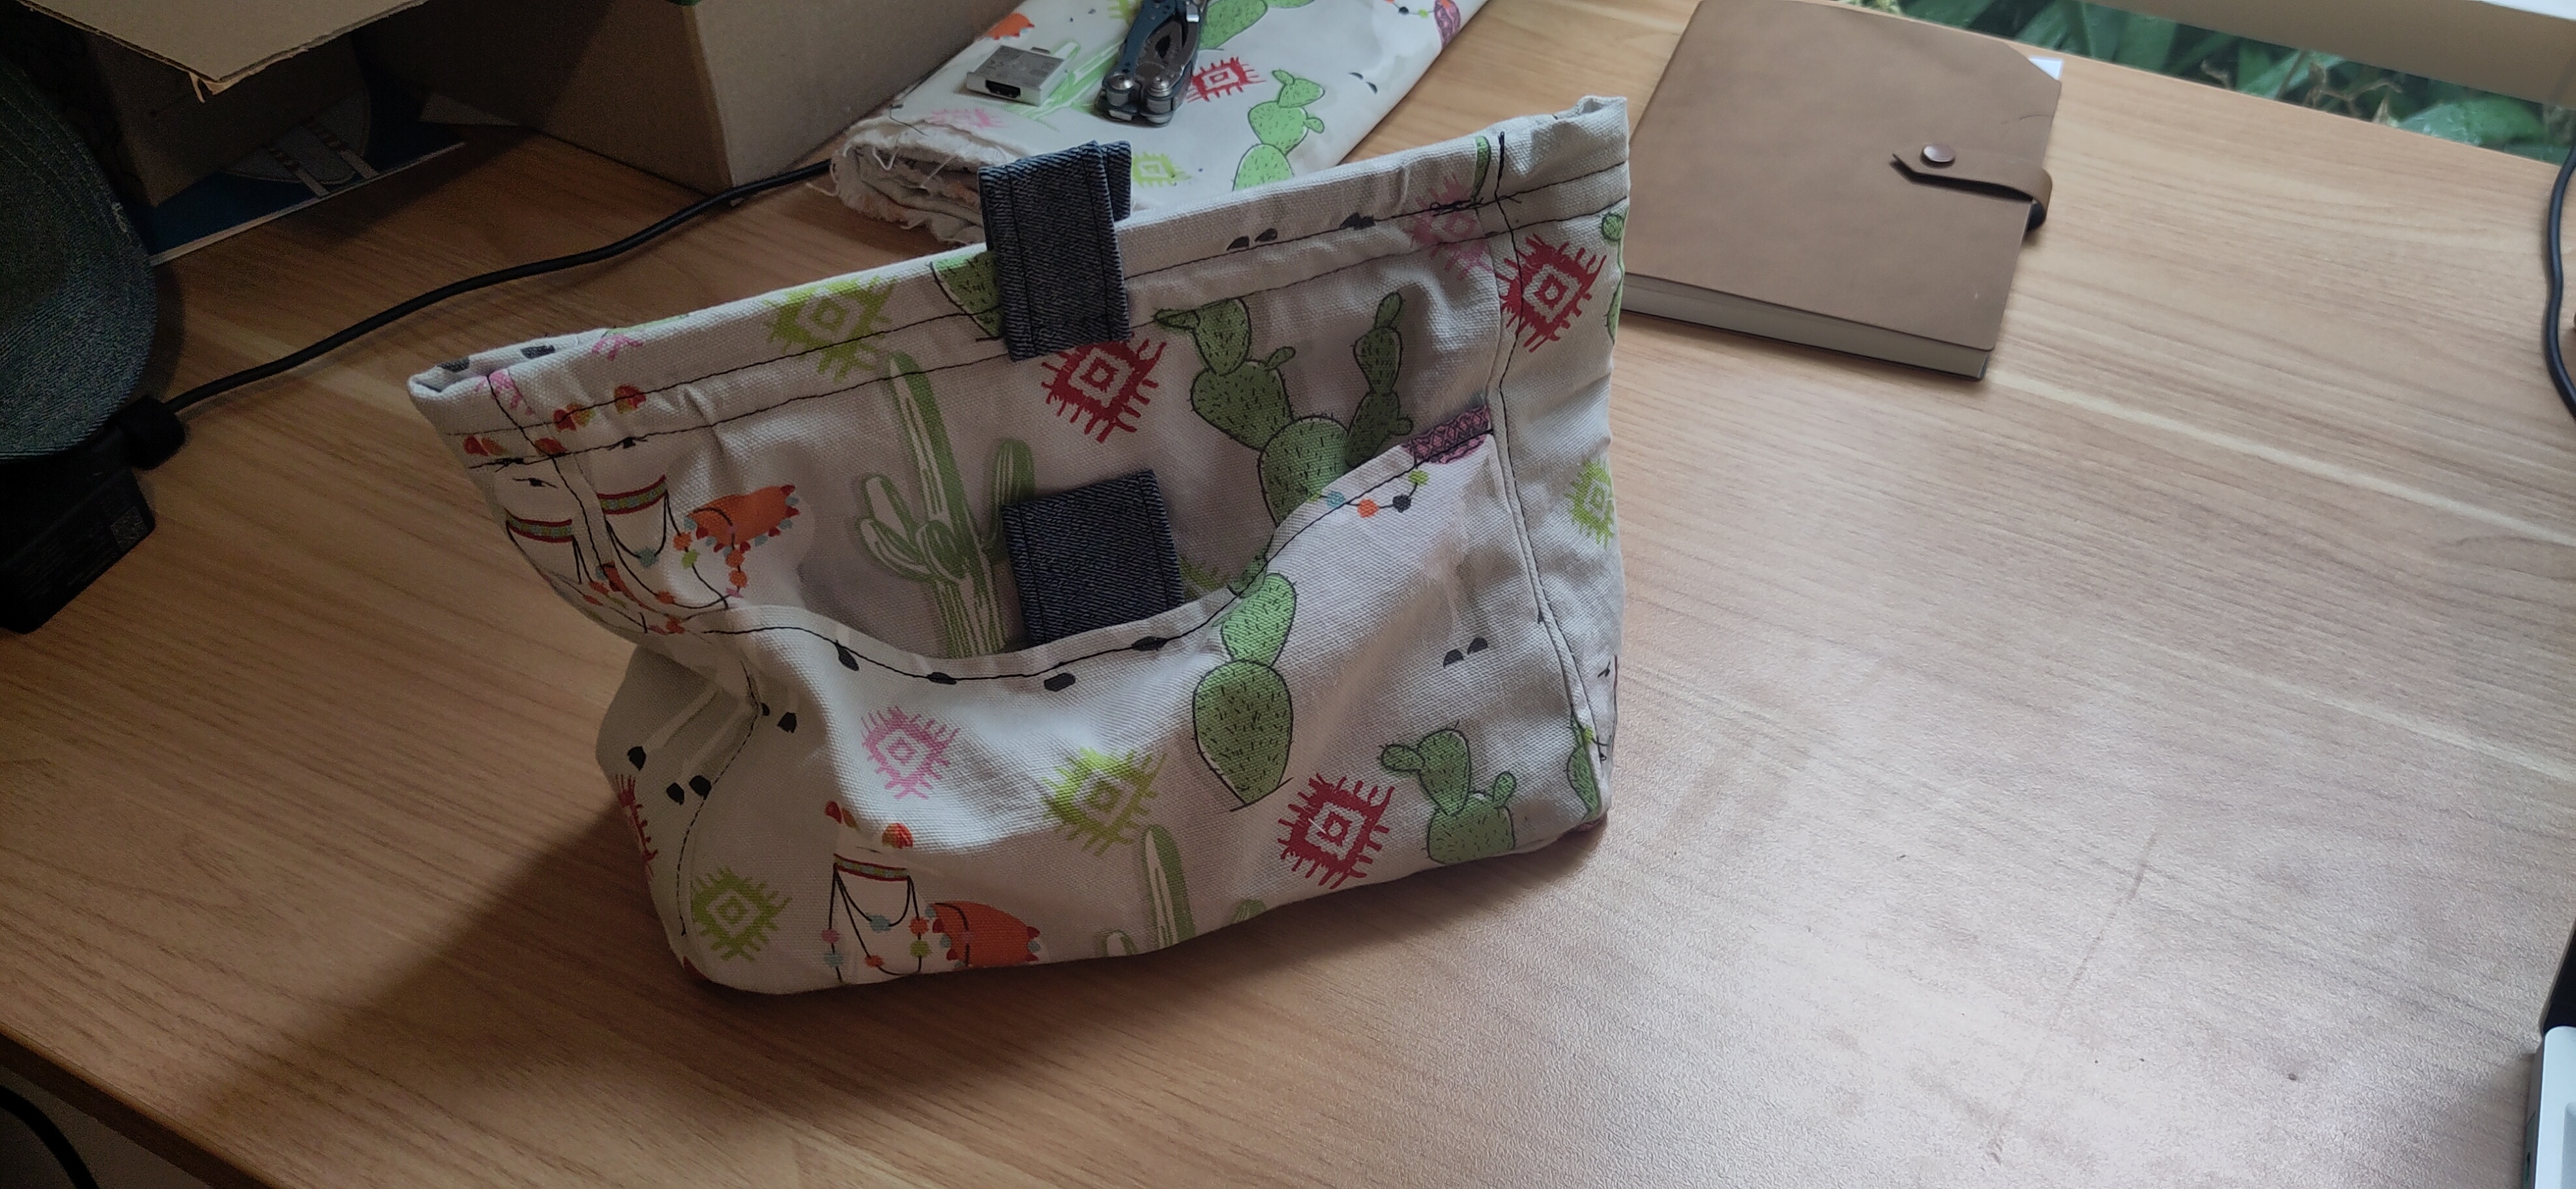
I made this based on the this video, with some modifications. I used a thin foam stitched into each of the side to give the bucket more structure so it could hold it’s shape and I used magnetic strips to seal the bucket instead of velco.
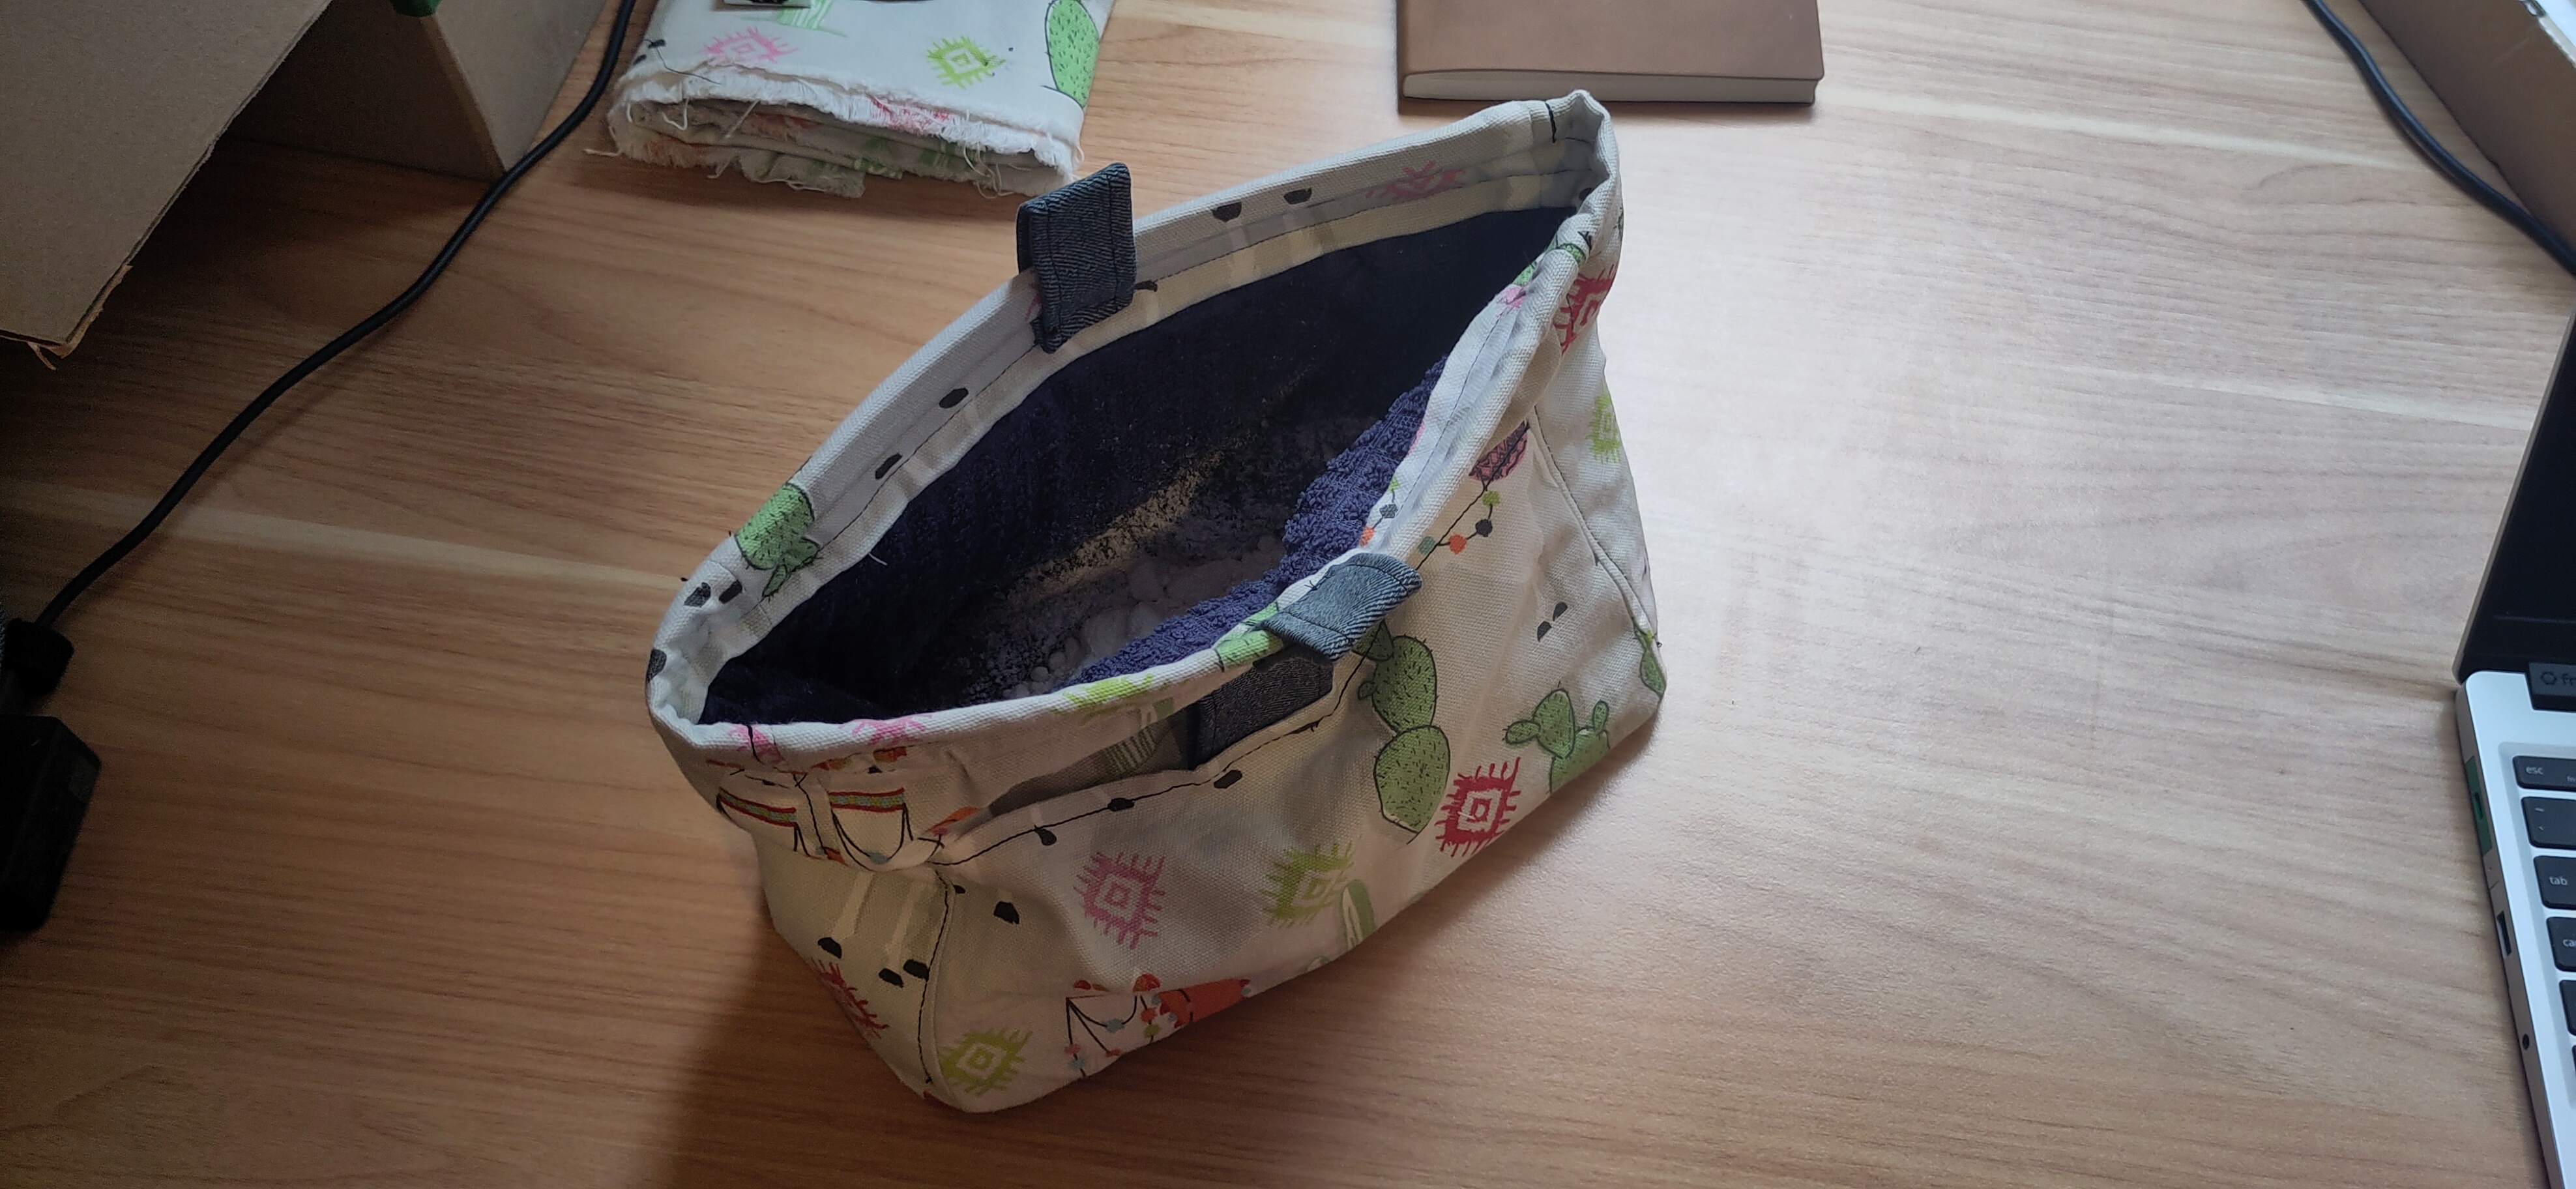
I used a cool fabric I found at an op-shop for the outside and a soft dish drying mat for the inside. The dish mat had padding inside that I used to add structure to the outside of the bucket.
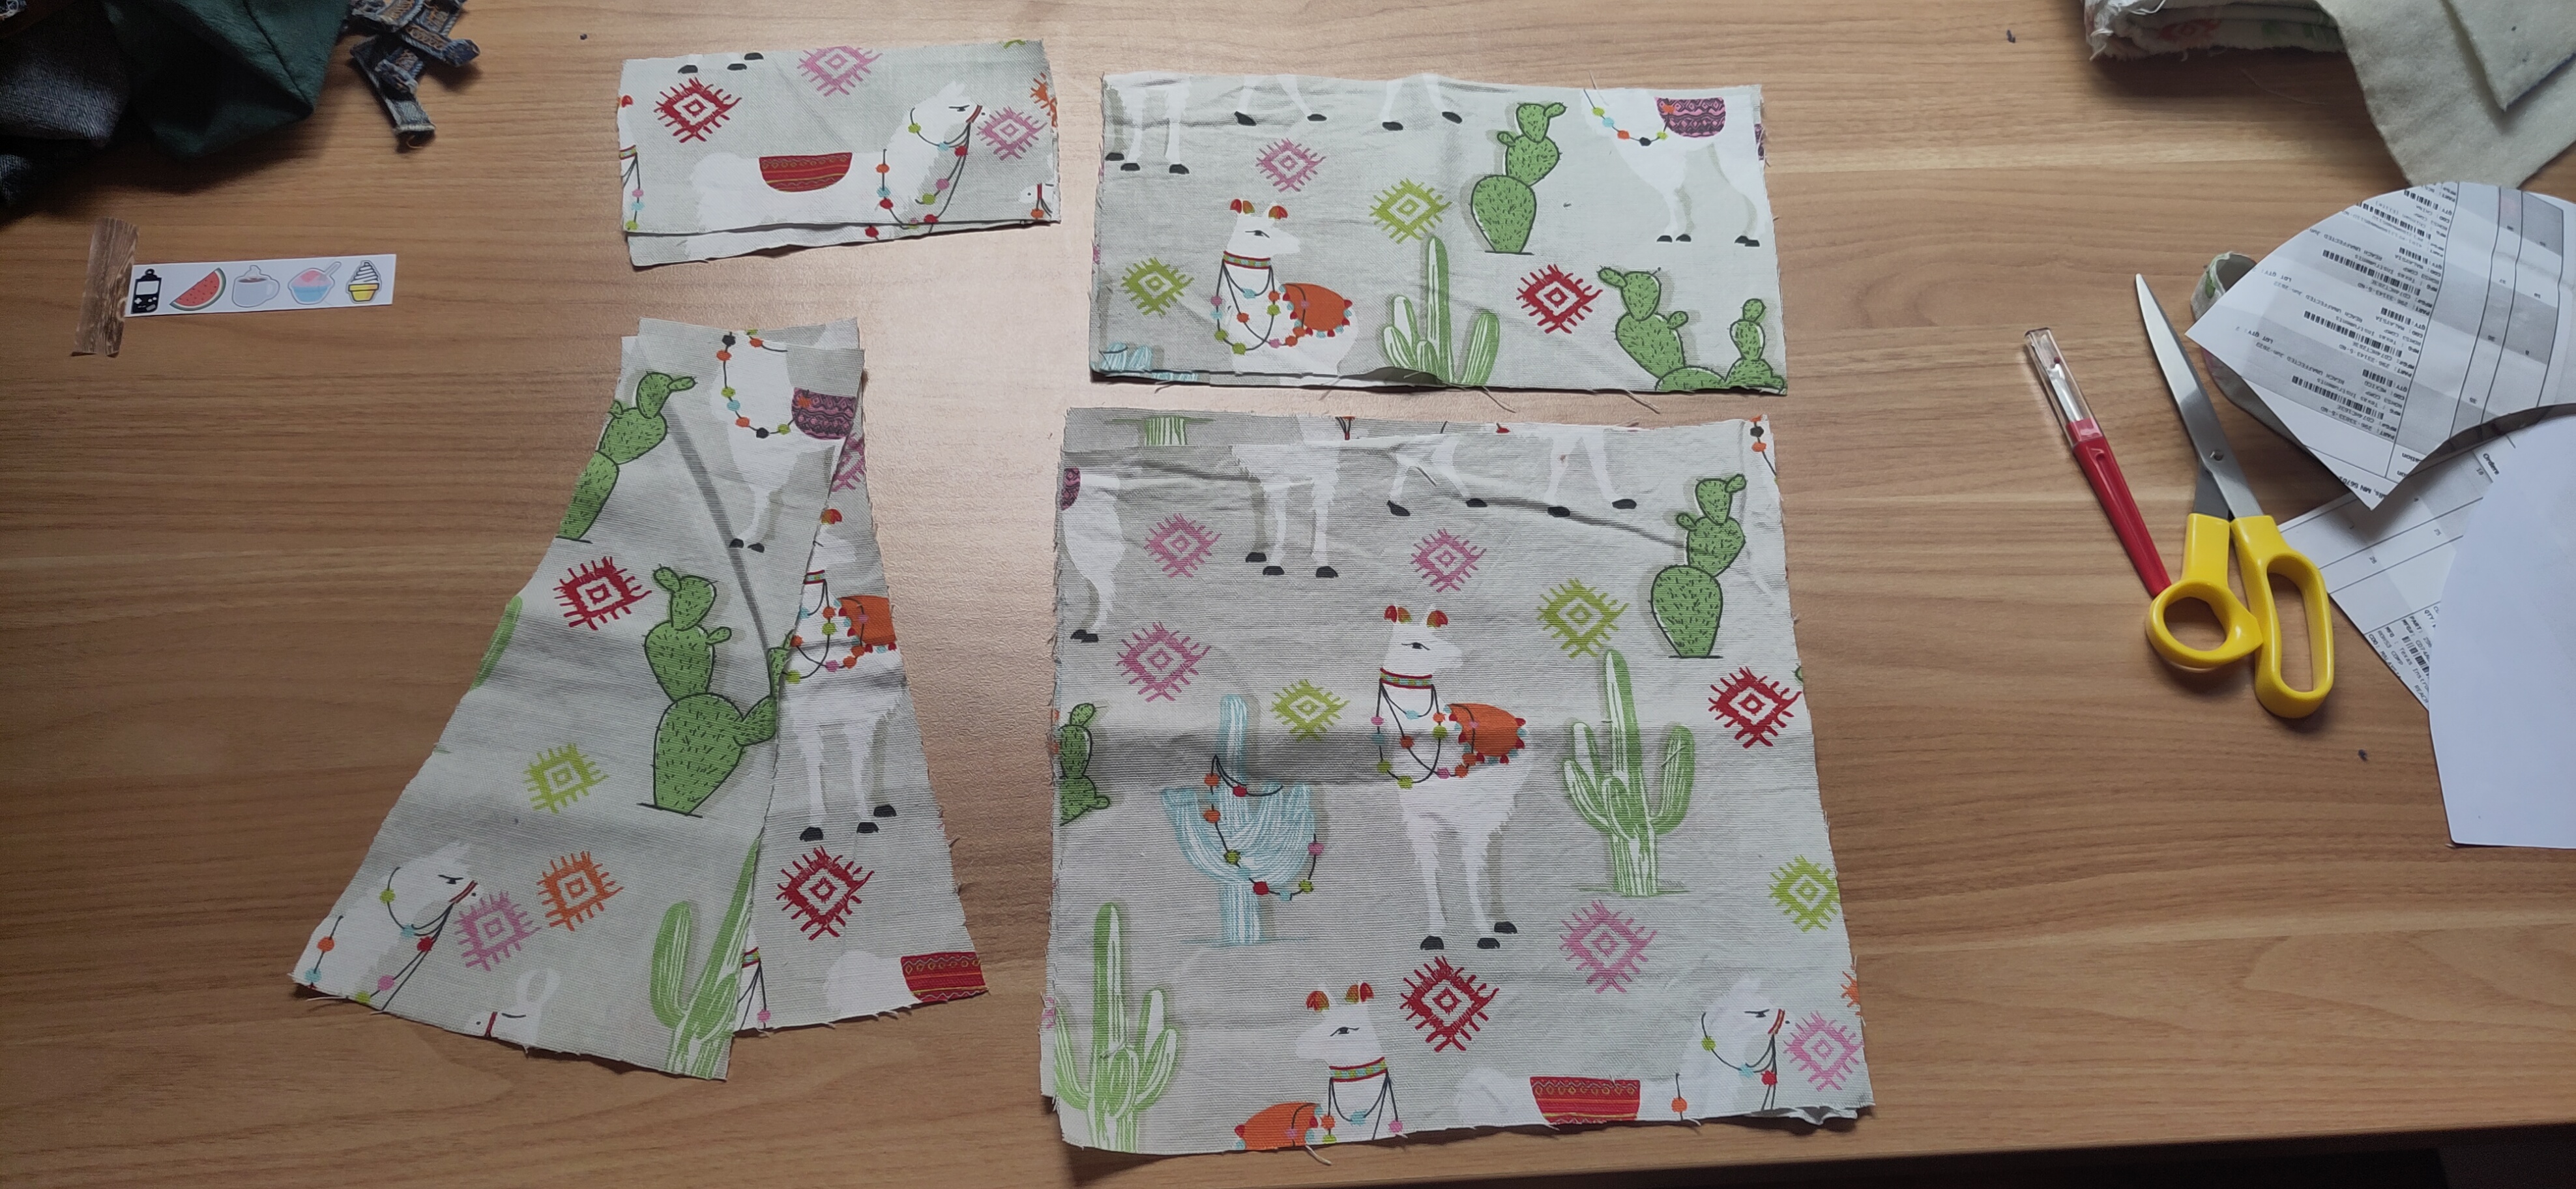
The pattern
Here’s the pattern for the outside
- Front and back panels
- 2 side panels
- 1 front pocket and 1 bottom panel (same shape and size)
- 1 brush holder
I didn’t take a photo of the inside pattern.
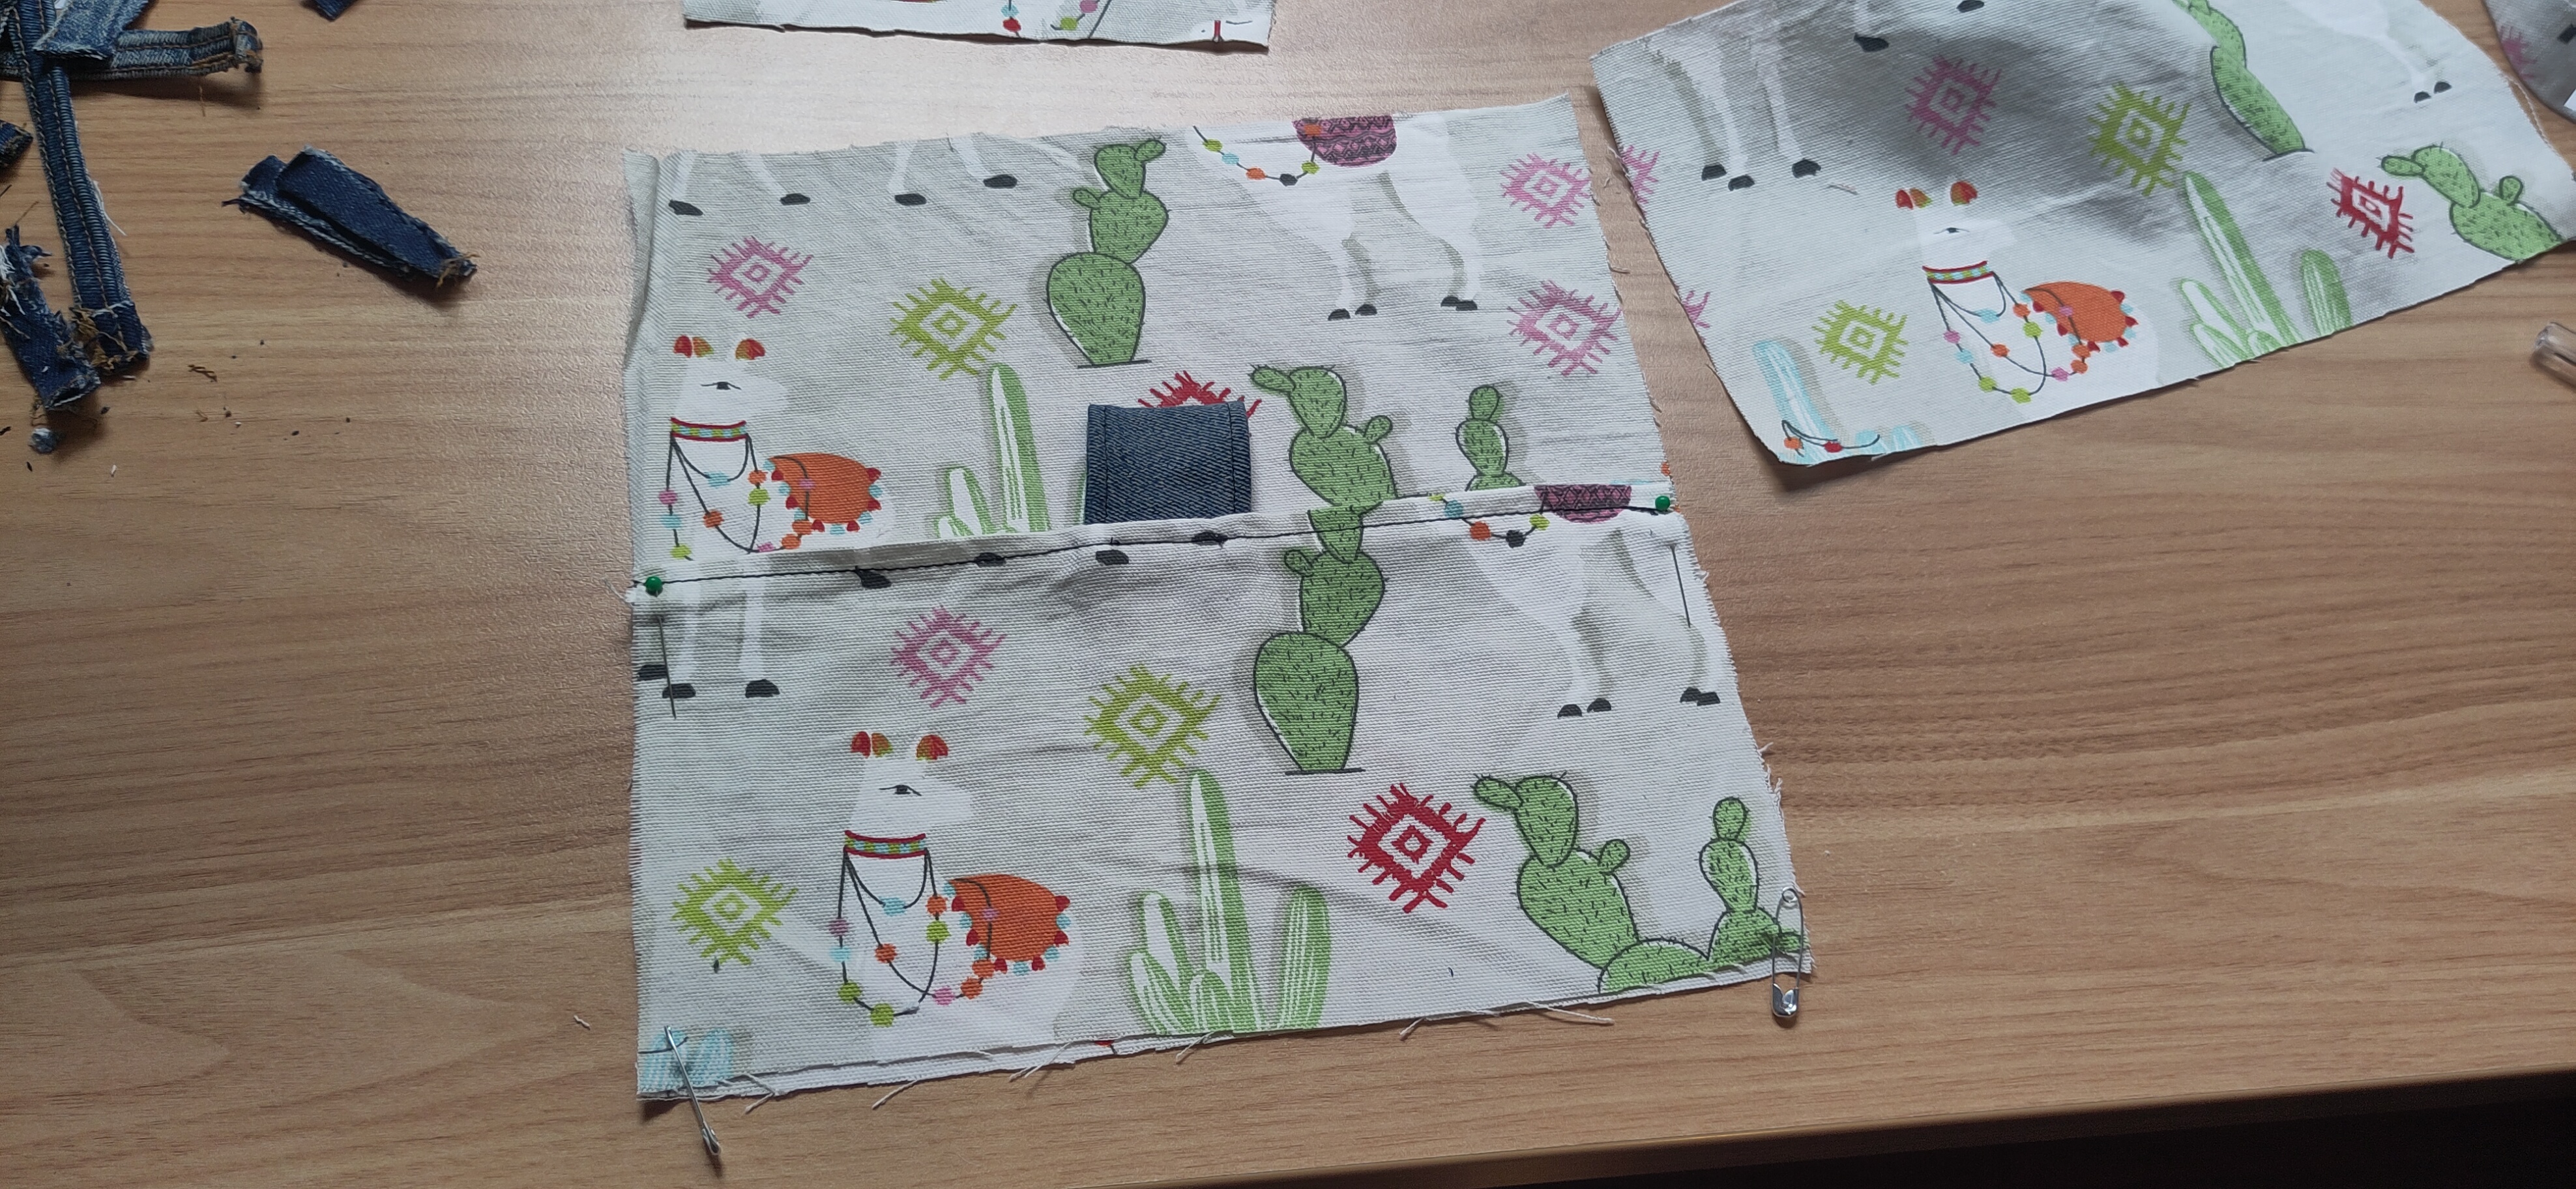
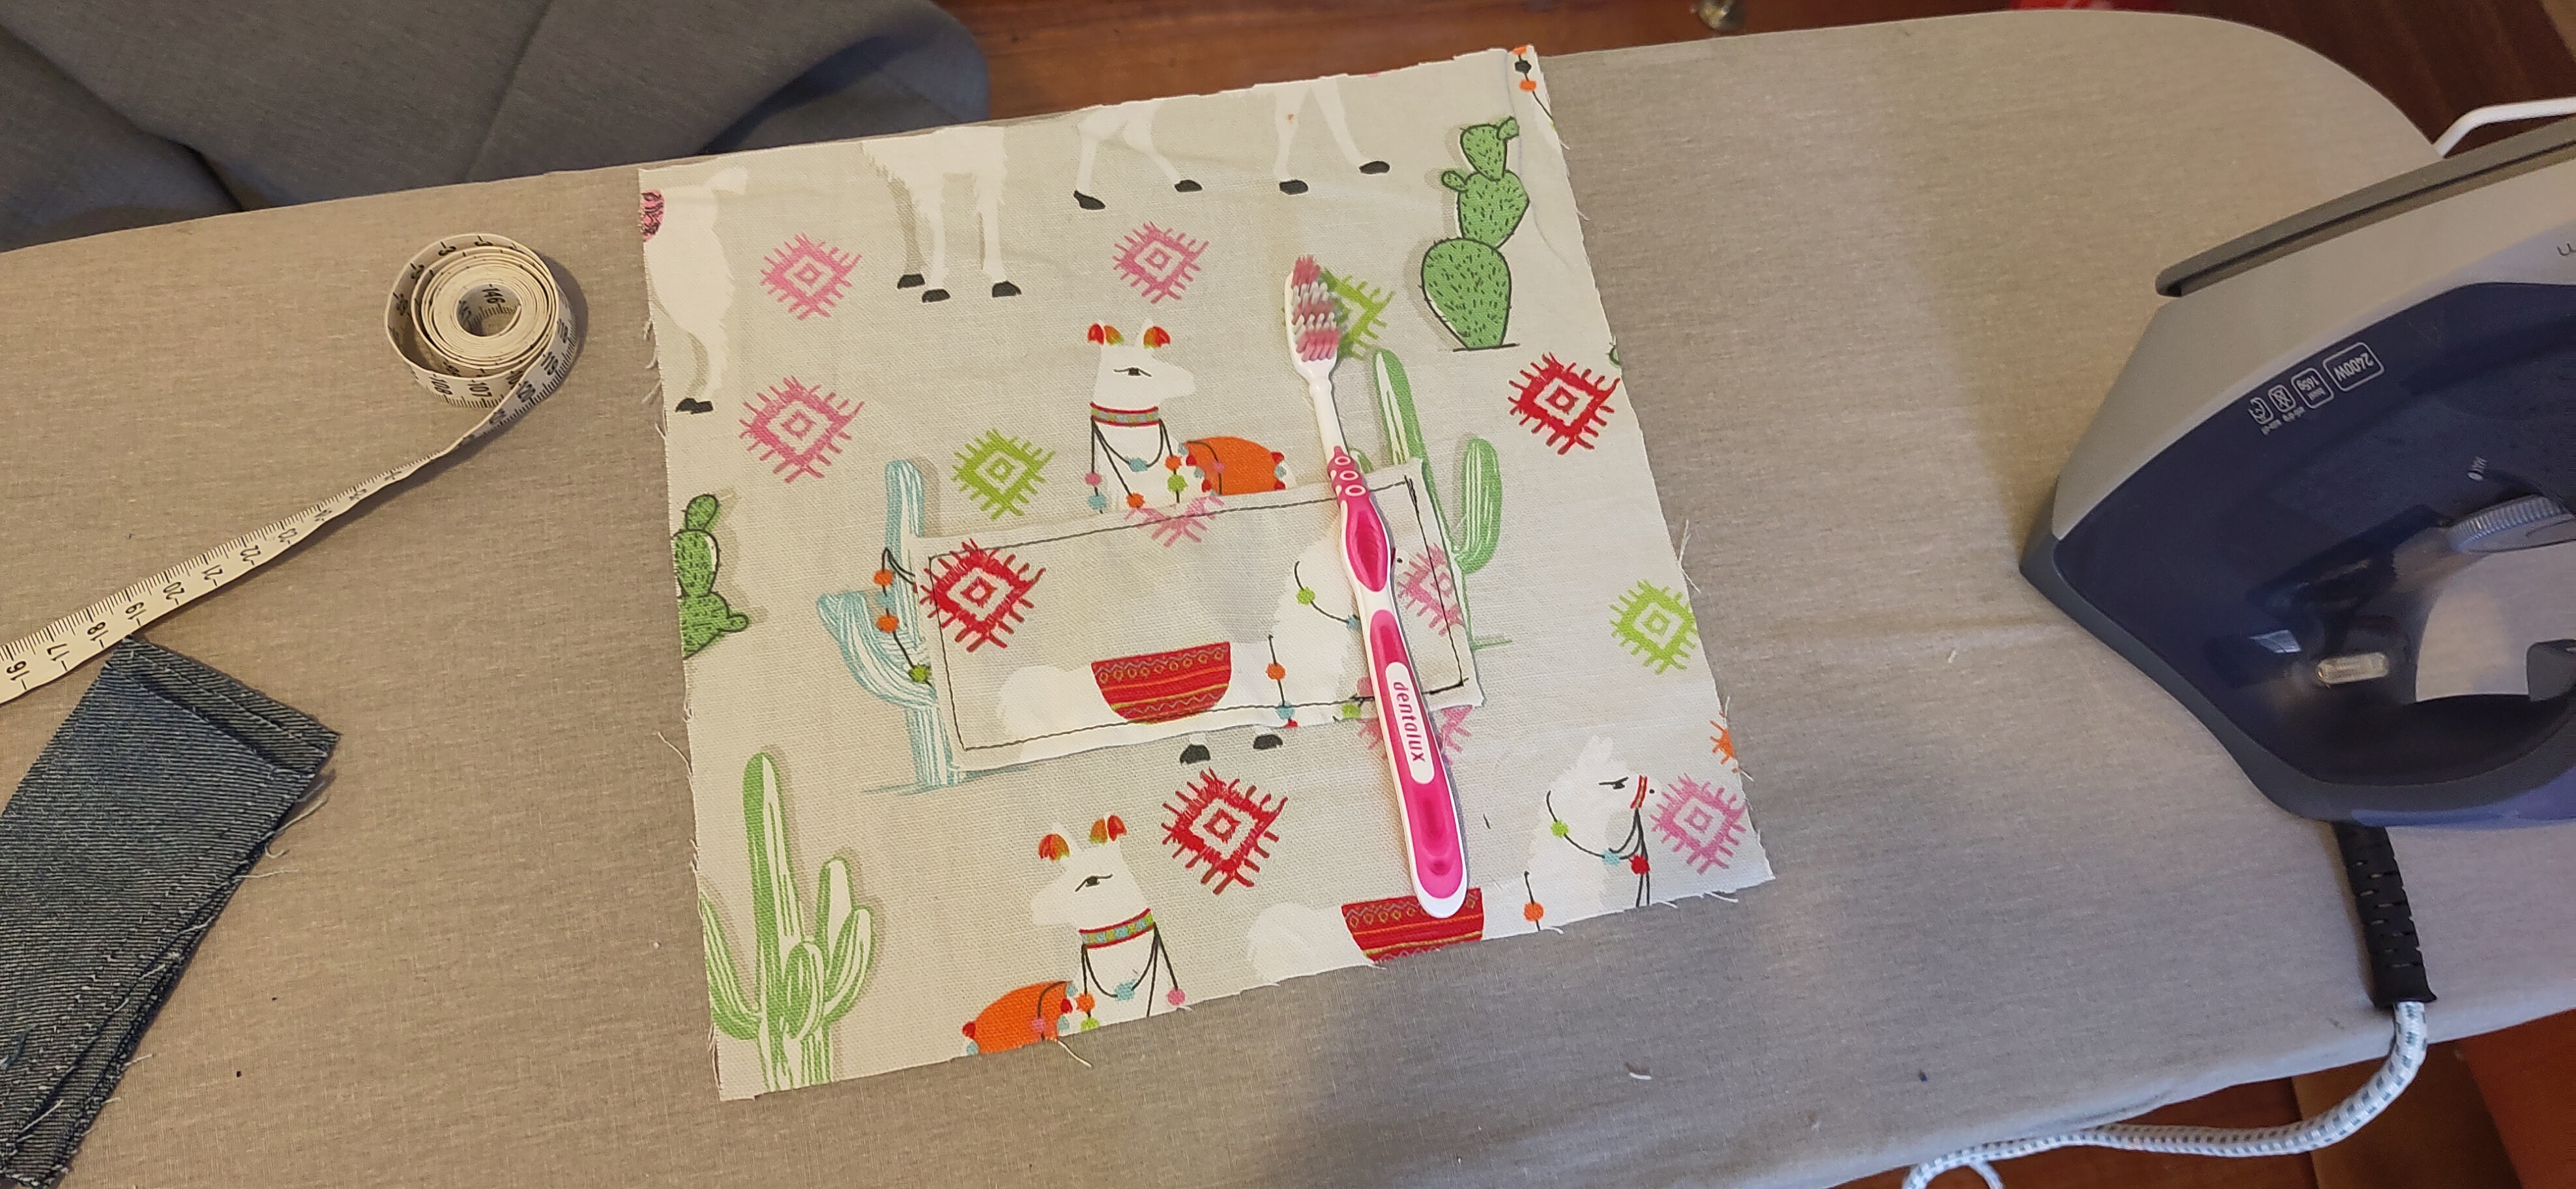
Front and back panel assembly
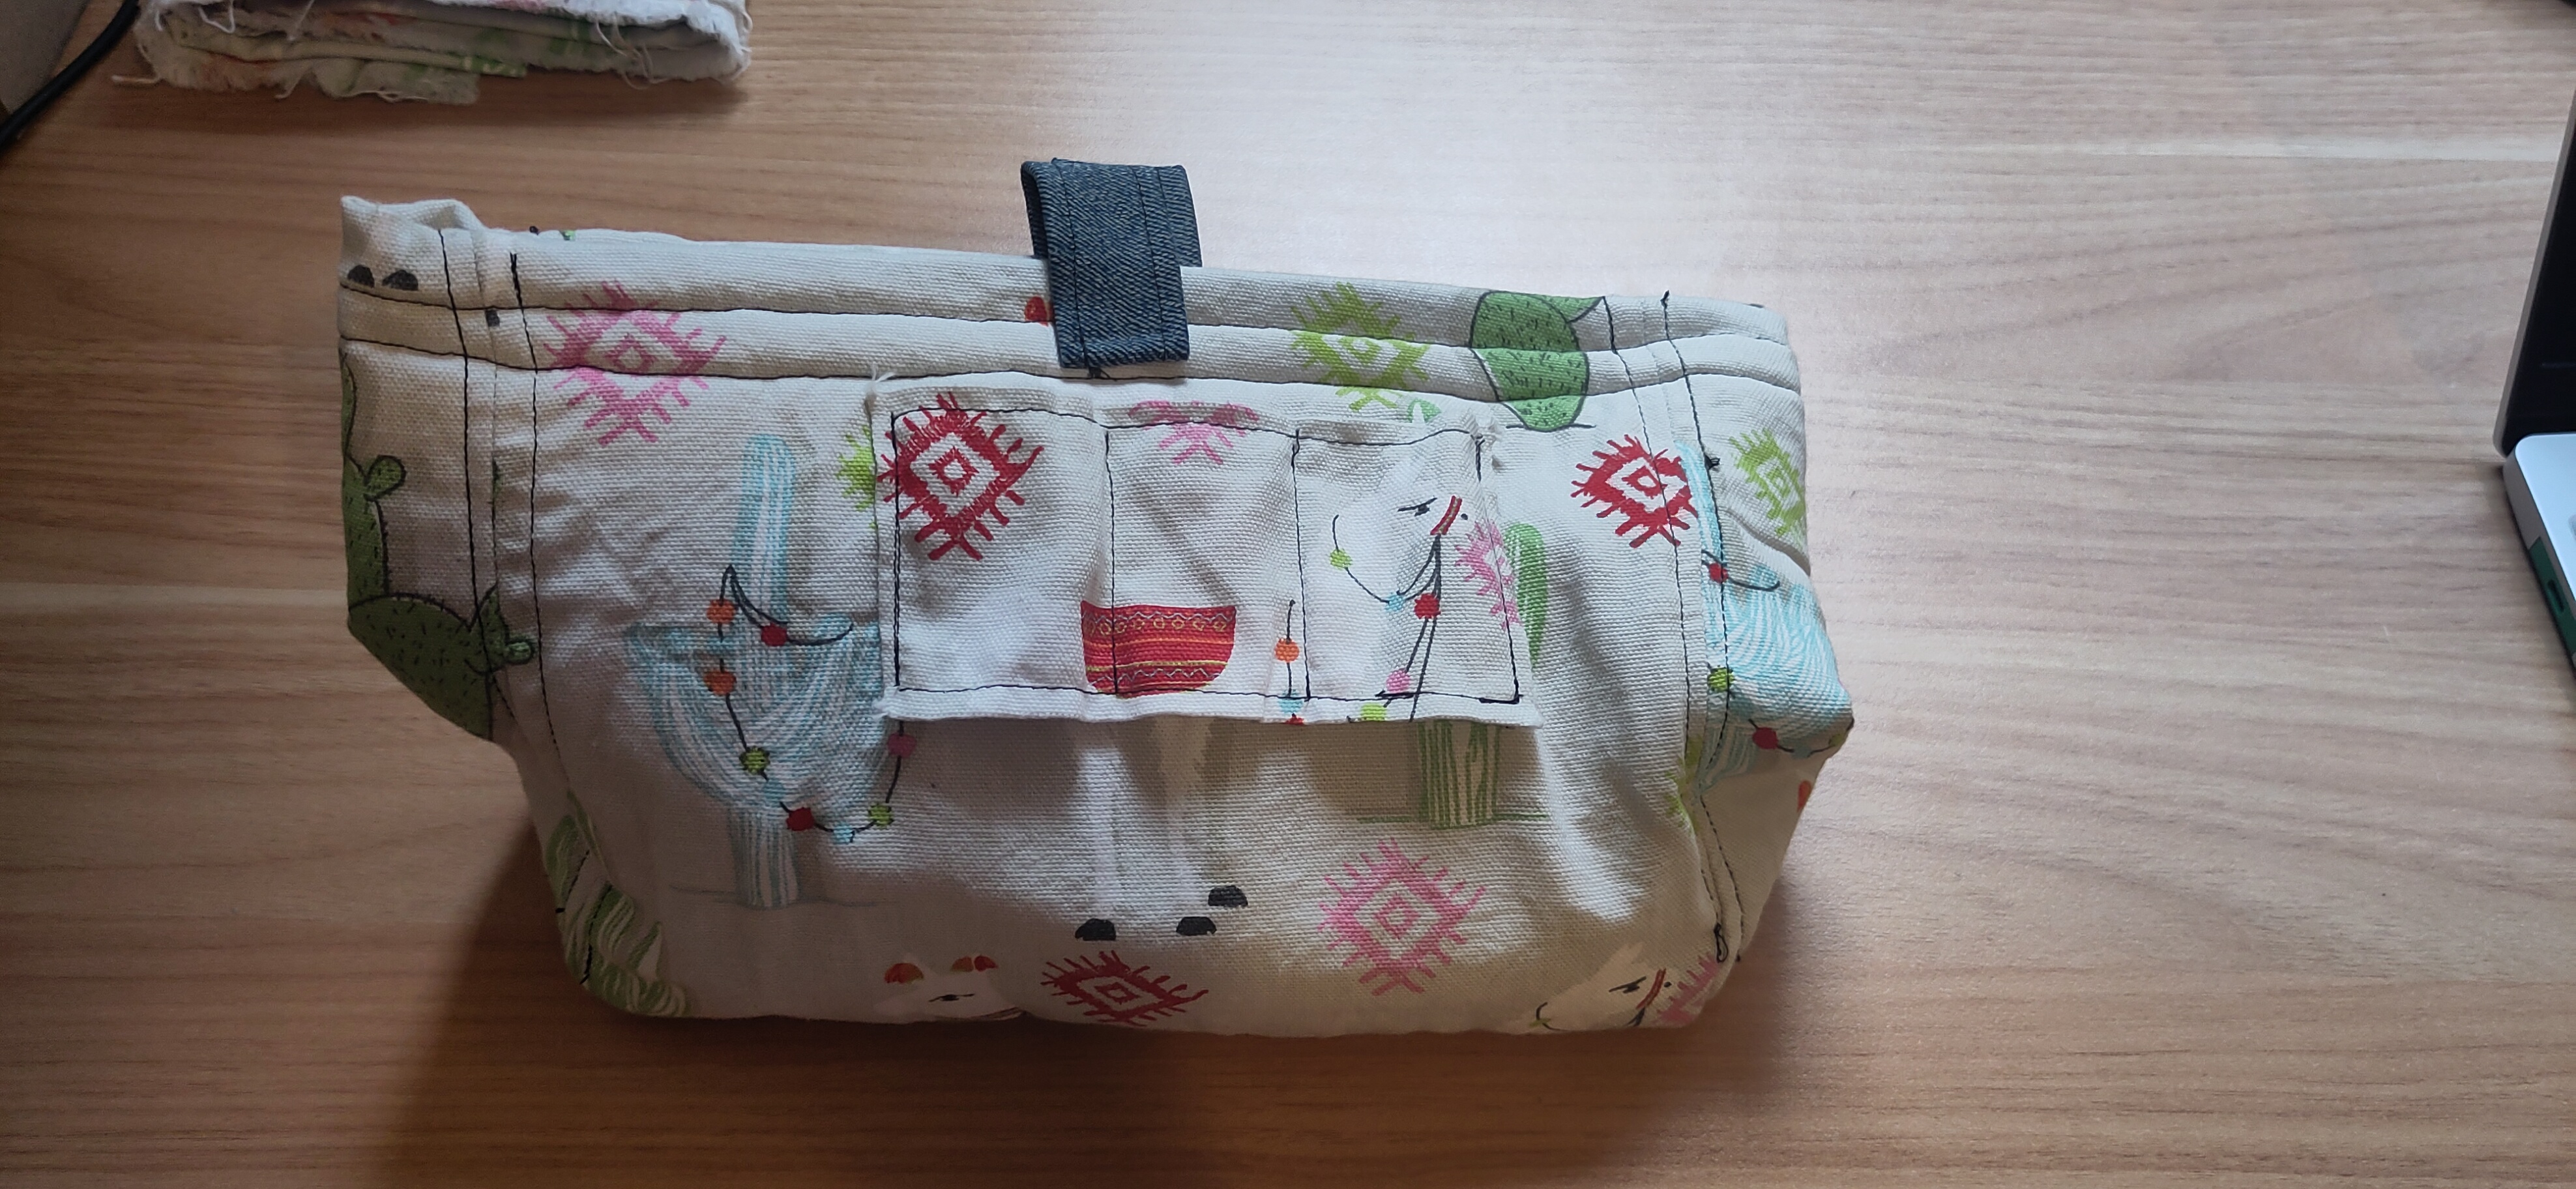
There’s a pocket on the front to hold things like tape and a phone, and a brush holder on the back.
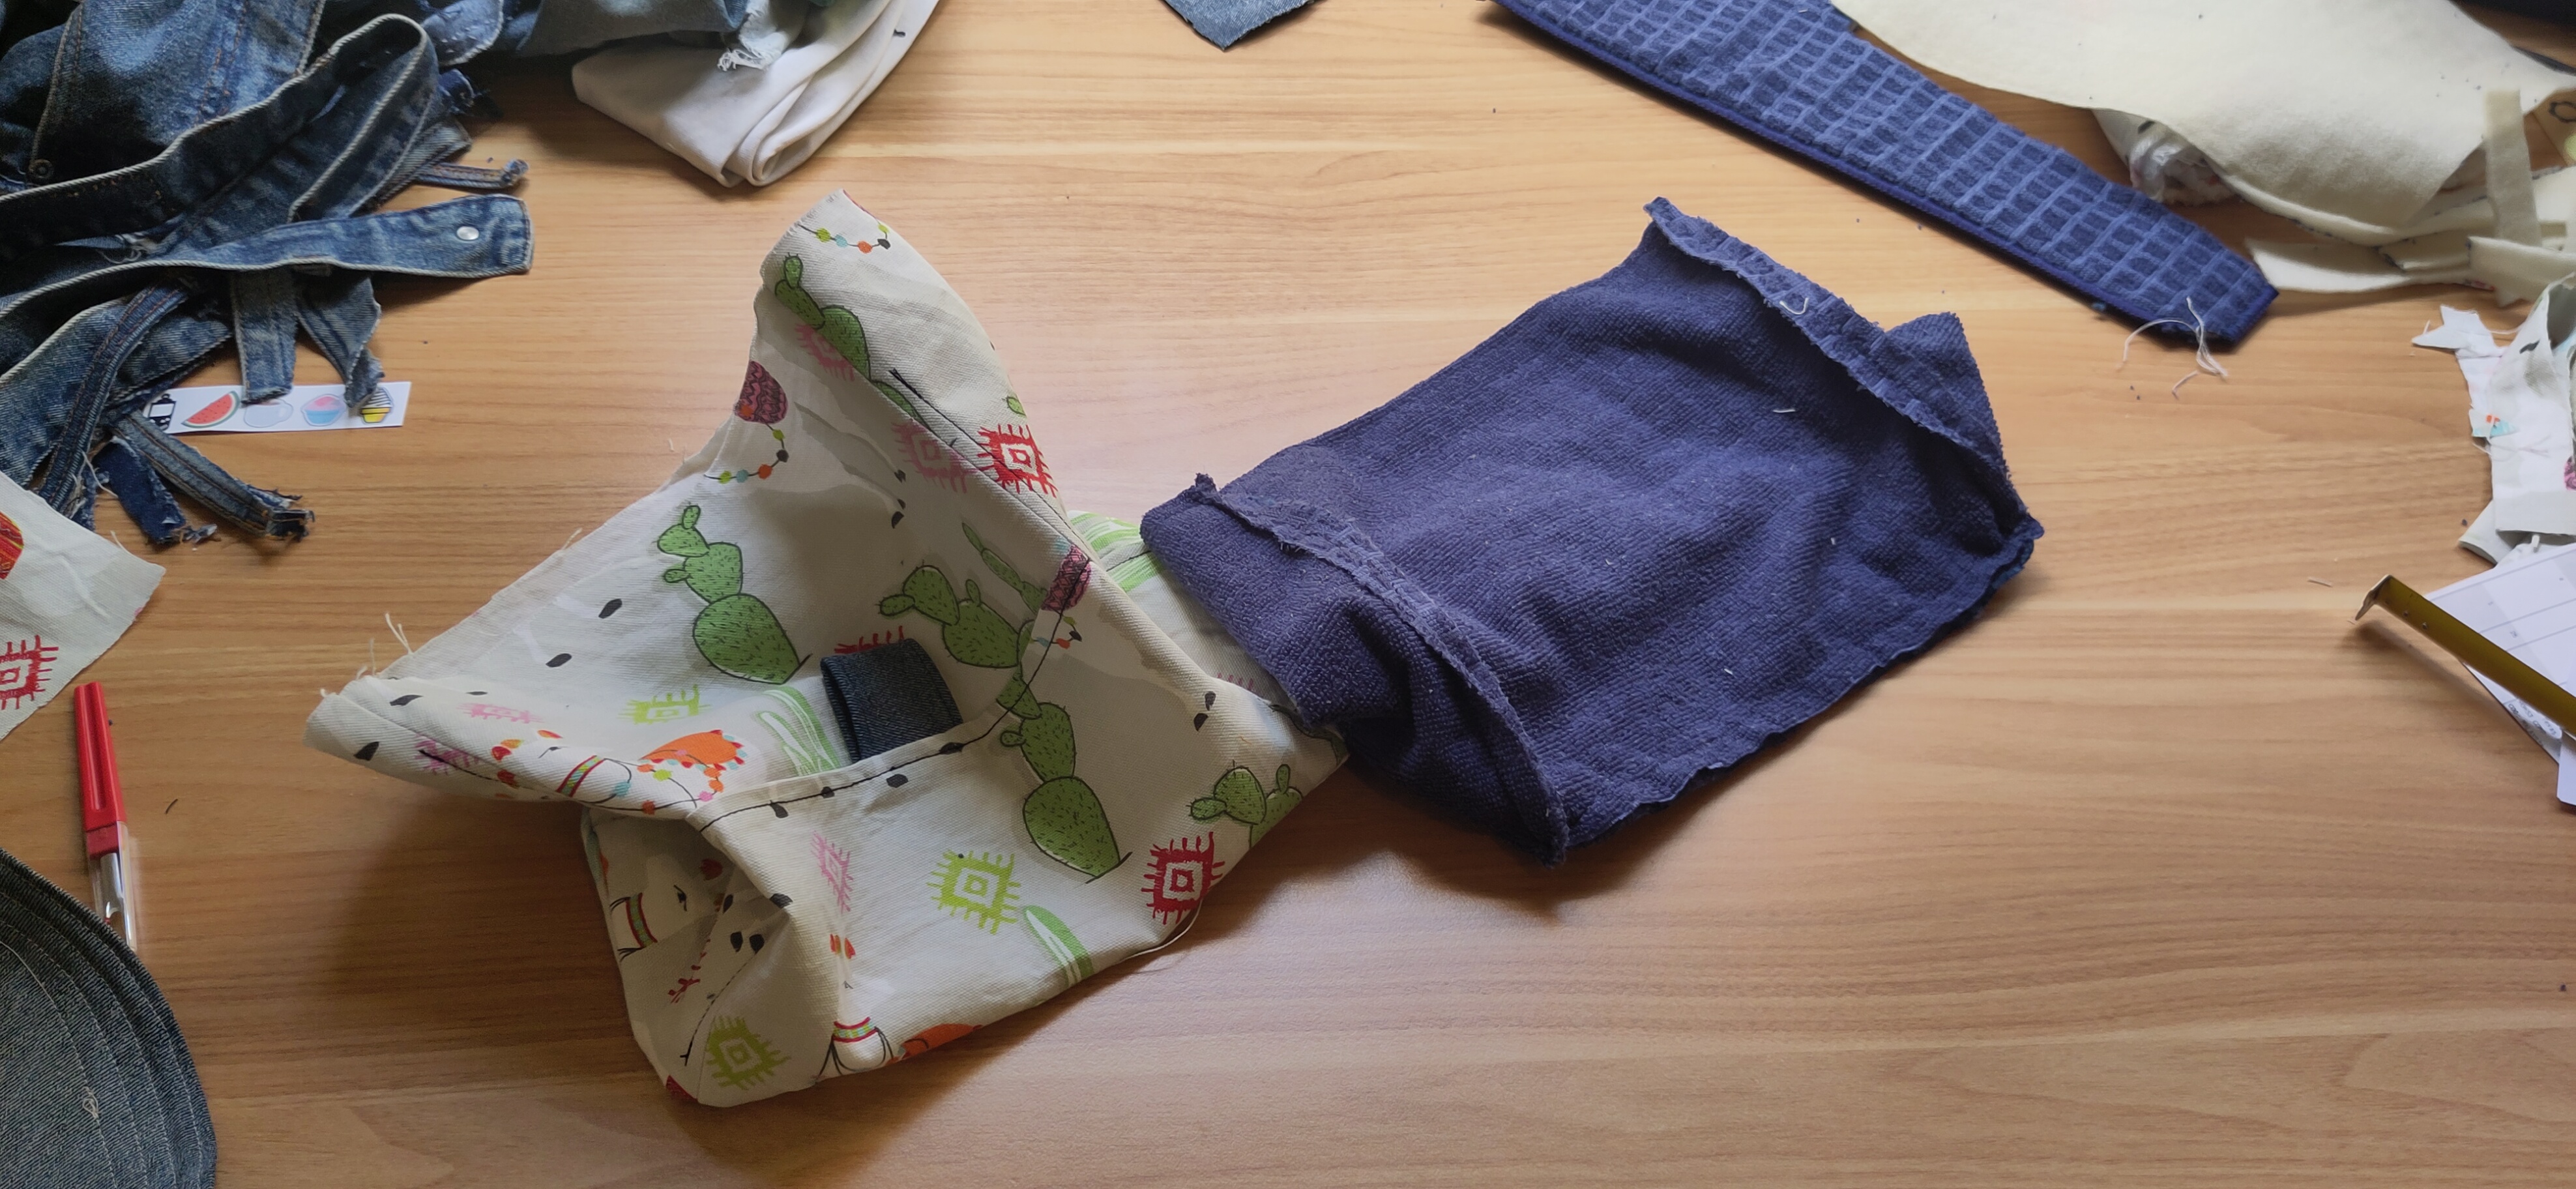
Inside and outside assembled
I decided to add the padding to add structure at this point because the bucket felt very floppy and would probably have toppled over constantly once I added the magnetic strips.
Completed bucket
I’ve been using the chalk bucket for a few weeks now and it’s working perfectly. The magnetic strip is brilliant, because it is easy to open, keeps it firmly closed so there’s no risk of spilling, and I don’t have to brush past velcro every time I chalk up. The only minor issue is that the top is still floppy, so I probably should have added padding there.